Hydraguard Shield Pro

Self-Adhered Tile Underlayment

Description

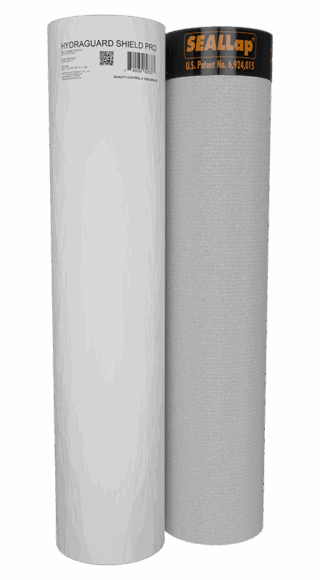
Hydraguard Shield Pro is a self-adhered underlayment engineered for steep-slope roofing applications, offering reliable waterproofing and durability in demanding environments. Its dual-compound construction ensures strong adhesion to roof decks while maintaining compatibility with various tile installation methods, including foam-applied and mechanically fastened systems.

With a slip-resistant surface and lap sealing technology, Hydraguard Shield Pro simplifies installation while maintaining watertight integrity across the roof system. A dependable choice for installers seeking a durable and affordable underlayment.

Click here for important tile stacking, back-nailing, and end lap details & guidelines.

Features and Benefits

  • Polyester reinforced surface engineered for slip resistance and strong foam set adhesion.
  • Asphaltic compound provides excellent sealability around nails.

Underlayment Installation

  1. Apply over clean, dry, dust and debris-free substrates. Where required, prime substrates prior to application with Polyglass PG 100 Asphalt Primer, WB-3000 water- based primer, Polytack® CA, or alternative ASTM D41 primers as approved by Polyglass. Allow primers to dry per product instructions; refer to the applicable Polyglass Product Data Sheet for details.
  2. Cut the Hydraguard Shield Pro to a suitable, workable length prior to placement.
  3. Lay the material flat in place, starting at the lowest point.
  4. Fold the membrane back onto itself (width-wise) andpeel half of the release film from the roll. Gradually push/roll the material into place with firm, even pressure from the center to the outer edge. Repeat this process with the remaining half of the roll.
  5. Back-nailing is required on slopes of 2:12 or greater. Ensure all fasteners are covered by the overlapping course of membrane to maintain watertight integrity.
  6. Position successive rolls providing a minimum 6″ end lap and 3″ side lap. Position the next sheet by overlapping seams in such a manner that all laps shed water.
  7. Use PolyPlus® 50 or PG 500 to seal all end laps,
    hip and ridge details, and any “SA to fabric” splices, patches, or details.
  8. At side overlaps, remove the protective release film and apply even pressure to seam area.
  9. All self-adhered membranes are pressure sensitive and require full adhesion to the substrate. After adhering
    the underlayment, apply uniform pressure across the entire surface using a minimum 35 lb weighted split- faced roller to ensure complete contact. For steep slope applications where safety is a concern, brooming the membrane surface with firm, sufficient pressure is an acceptable alternative to rolling. Always follow proper safety procedures.
  10. Cut and repair any fishmouths that may occur during installation, as fishmouths may protrude and raise the finished roofing system.
  11. To repair damaged areas, clean the surface and apply a bed of modified cement such as PolyPlus 50 or
    PG 500, extending at least 6″ beyond the damaged area in all directions. Cut a piece of Hydraguard Shield Pro to fit the area and hand-roll the patch firmly into place. Install patches so water flows parallel to or over all seams.