Description
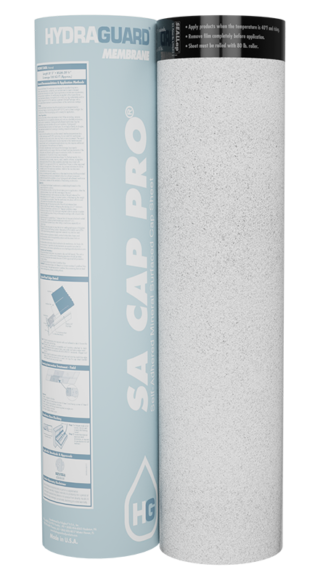
SA Cap Pro roof membrane is a self-adhered, fiberglass reinforced, granulated cap sheet. Manufactured using a Styrene-Butadiene-Styrene (SBS) modified asphalt compound on the top layer and an aggressive self-adhesive compound on the bottom layer, SA Cap Pro roof membrane is built to ensure excellent dimensional stability.
SA Cap Pro roof membrane is finished with granules on the top surface and a split release film on the bottom surface for easy installation. A granule free overlap provides for greater ease of application and improved product performance.
Application Instructions
SA Cap Pro is intended to be used as a cap sheet for new or re-roof applications as part of a multi-ply system when applied to acceptable insulations and/or coverboards for commercial and residential structures. SA Cap Pro may also be applied directly to approved wood deck substrates of non-occupied spaces such as carports, sheds, canopies, etc.
- Apply only when the weather and forecast is dry and the ambient air temperature and substrate is 40°F (5°C) and rising.
- Apply over clean, dry, dust and debris free substrates. Prime concrete decks prior to application with an asphalt primer.
- When re-roofing, remove all prior roofing materials down to a clean debris free substrate and properly close off all abandoned roof penetrations.
- Concrete or steel decks shall be designed with proper expansion devices.
- Wood decks shall have all joints blocked and properly supported.
- Ensure the installation of SA Cap Pro does not prevent the ventilation of existing construction
- Do not apply over shingles or other granulated surface.
- While installing SA Cap Pro:
- Start at the low point of the roof.
- Unroll the material and allow to relax.
- Start by removing the first 18–24″ of release film.
- Press the membrane into place with firm and even pressure. Roll the edges with a silicone hand roller to ensure complete adhesion.
- Gradually remove the remaining release film applying pressure from the center to the edges as you go.
- Position successive rolls providing a minimum 6″ end lap and 4″ side lap. Laps can be sealed for additional water tightness with a hot air welder.
- After installation of the entire roof surface, roll with an 80# split-face linoleum roller. Take care on sloped roofs by securing the roller and applicator with the appropriate safety equipment.
- Details and flashing may be installed using SA Cap Pro with a hot air welder or with a Roof Cement. Check project details for proper installation requirements.
